
Packing a kitchen takes more planning than most rooms because it combines fragile dishes, heavy pantry goods, liquids, sharp tools, and small appliances with removable parts. A rushed kitchen pack can lead to cracked glassware, leaking bottles, overloaded boxes, and missing appliance pieces. The best approach is to sort early, use the right boxes, and pack each category based on weight, shape, and breakability.
At Dan’s Van Lines, we help homeowners and renters throughout Alexandria and Northern Virginia prepare for local, long-distance, and specialty moves. We know the kitchen is often one of the last rooms people want to pack, but it is also one of the rooms where careful preparation makes the biggest difference.
If you have questions while planning your move, you can reach us at (703) 553-0900 or request help through our contact page.
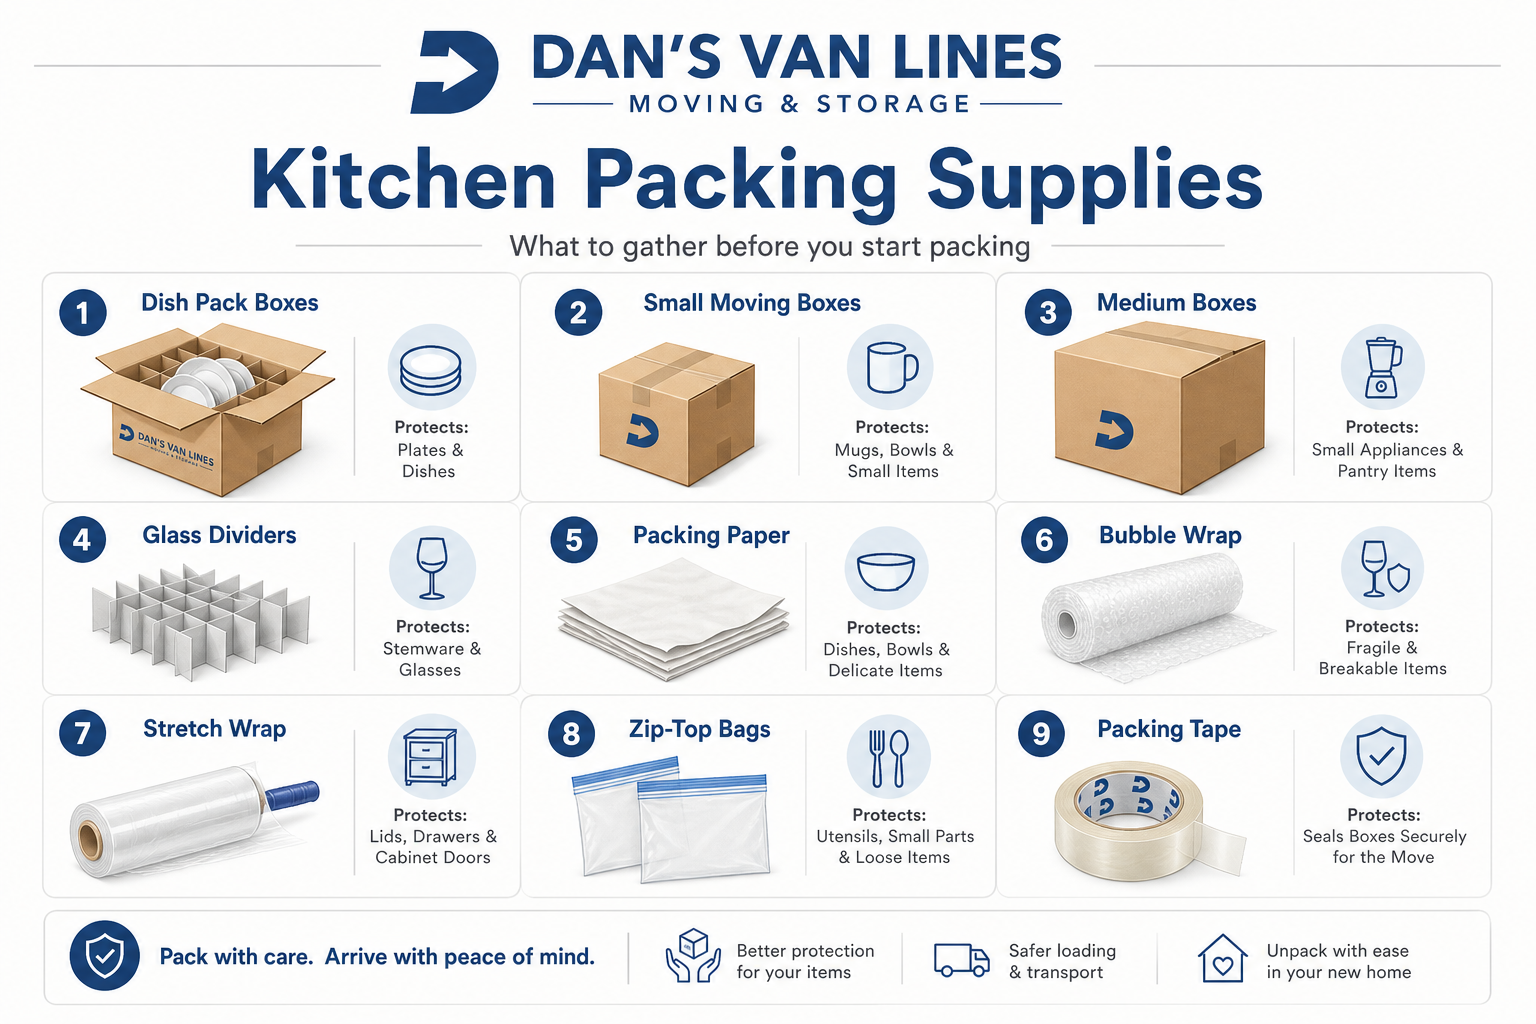
Start With the Right Kitchen Packing Supplies and Box Types
The supplies you choose will determine how well your kitchen items survive the move. Dishes, china, glassware, pantry goods, and appliances all need different levels of support. Using one large box for everything is one of the fastest ways to create damage, because kitchen items are often heavier than they look.
For dishes and fragile tableware, the safest boxes are sturdy and small enough to keep weight manageable. For stemware, dividers matter because each glass needs its own protected space. For appliances, the original box is ideal when you still have it.
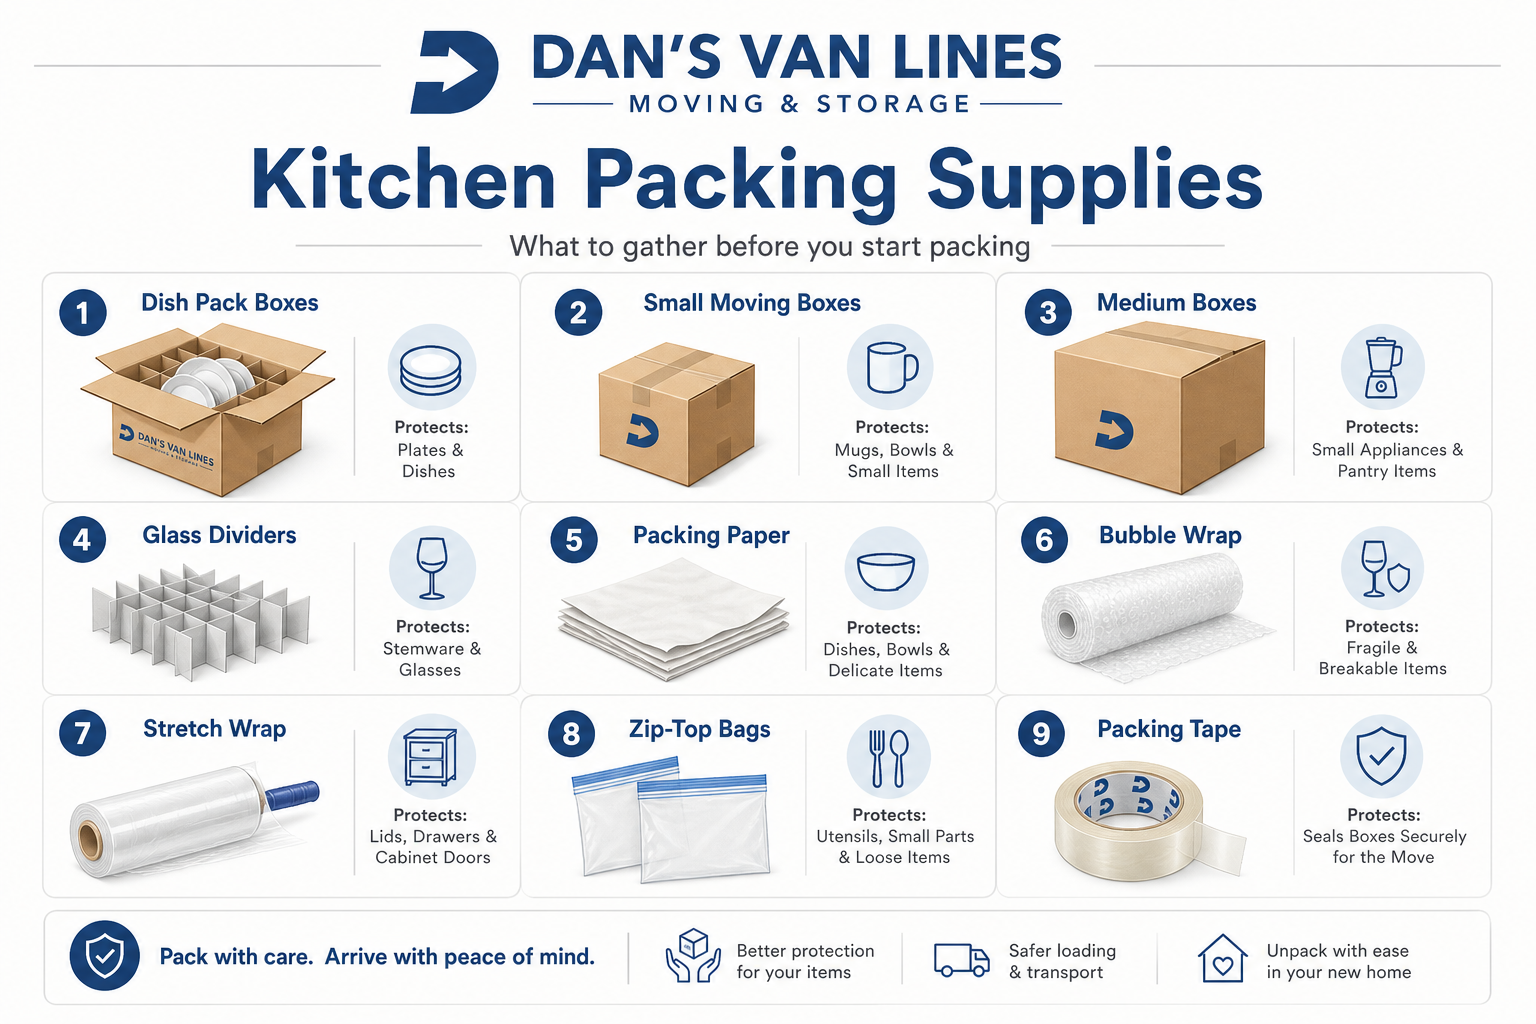
A strong packing setup should include several types of cartons and protective materials:
Dish packs or dish barrels: These double-walled, extra-thick boxes are designed for dishes, china, glassware, and serving pieces. They reduce flex and crushing during lifting and stacking.
Small moving boxes: These work well for everyday dishes, mugs, pantry cans, spices, and other dense items because they prevent boxes from becoming too heavy.
Medium moving boxes: Use these for lightweight bulky items such as plastic containers, mixing bowls, and some small appliances. Avoid filling them with heavy cans or stacks of dishes.
Glass pack boxes with cell dividers: These are best for wine glasses, stemware, and delicate glassware because the cells keep pieces from touching each other.
Heavy-duty or double-walled cartons: These are a good choice for high-value china, crystal, or expensive small appliances that need extra crush resistance.
Protective materials are just as important as the boxes. Packing paper is the main padding for dishes and glassware because it is easy to layer and less bulky than bubble wrap. Bubble wrap adds impact protection for very fragile pieces, glass lids, appliance doors, and removable parts.

Use stretch wrap to secure utensil trays, bundle loose utensils, and keep appliance doors or cords from shifting. Zip-top bags are helpful for screws, blades, small parts, hardware, and spice jars grouped by type. Quality packing tape should be at least 2 inches wide and applied in an H-pattern across box seams to reduce the risk of box failure.
Sort Kitchen Items Before Packing So You Do Not Move What You Will Replace
Before wrapping the first dish, decide what deserves space in the moving truck. Kitchens often collect duplicate gadgets, expired pantry items, chipped dishes, worn pans, and small appliances that rarely get used. Sorting first saves packing time and reduces the number of fragile or heavy boxes you need to handle.
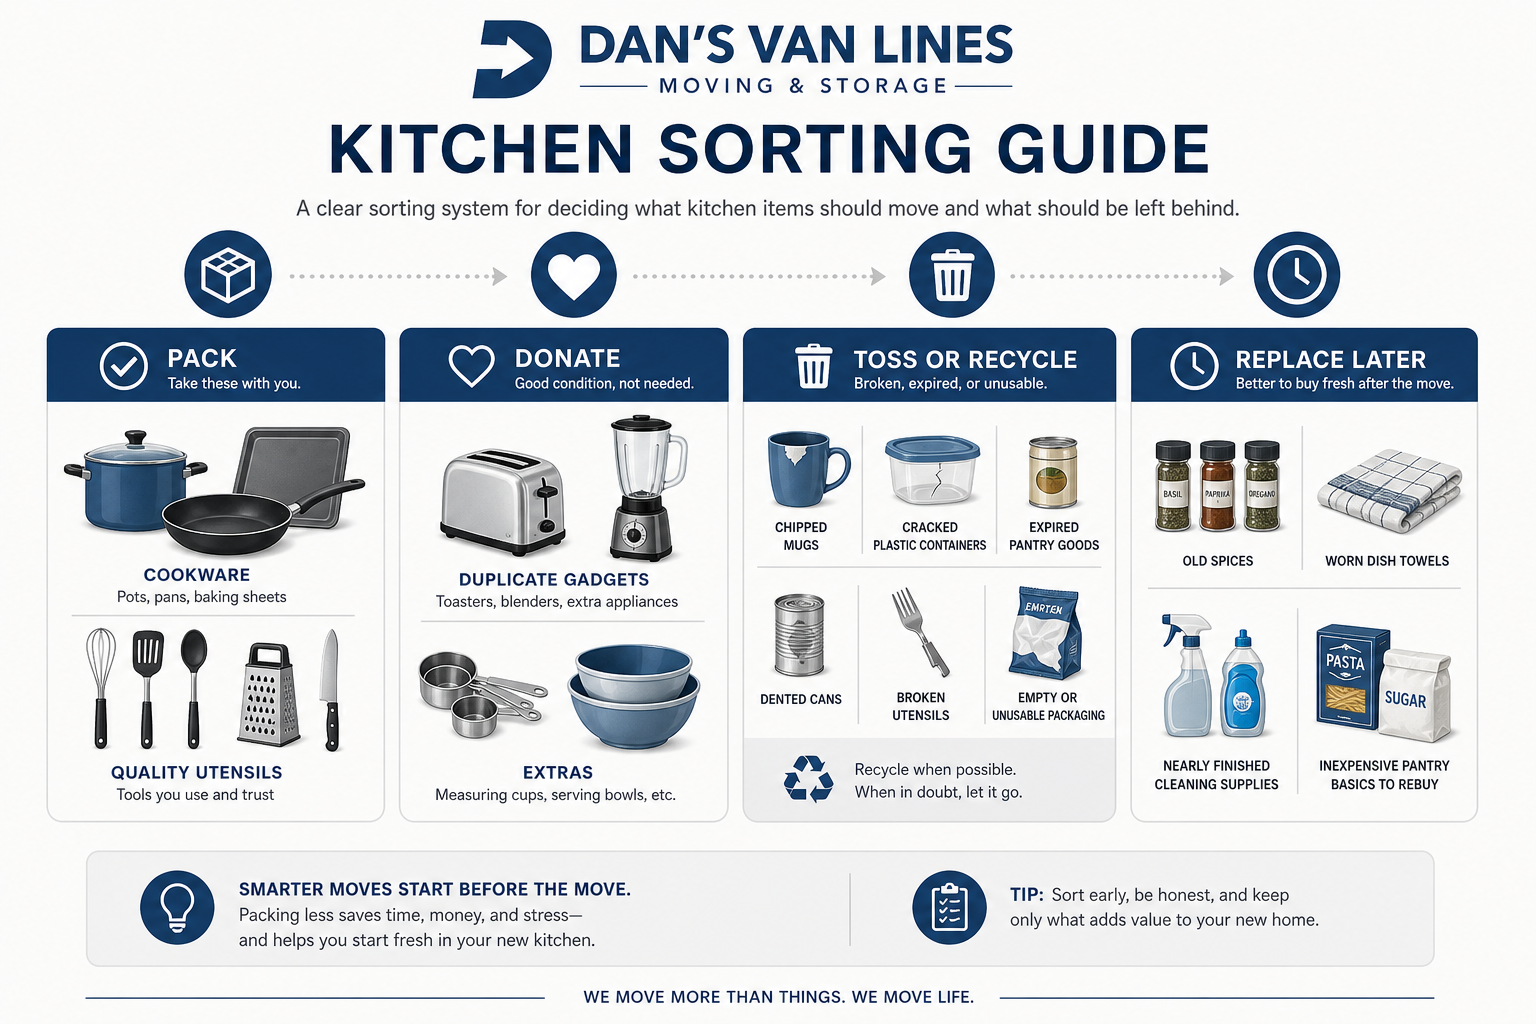
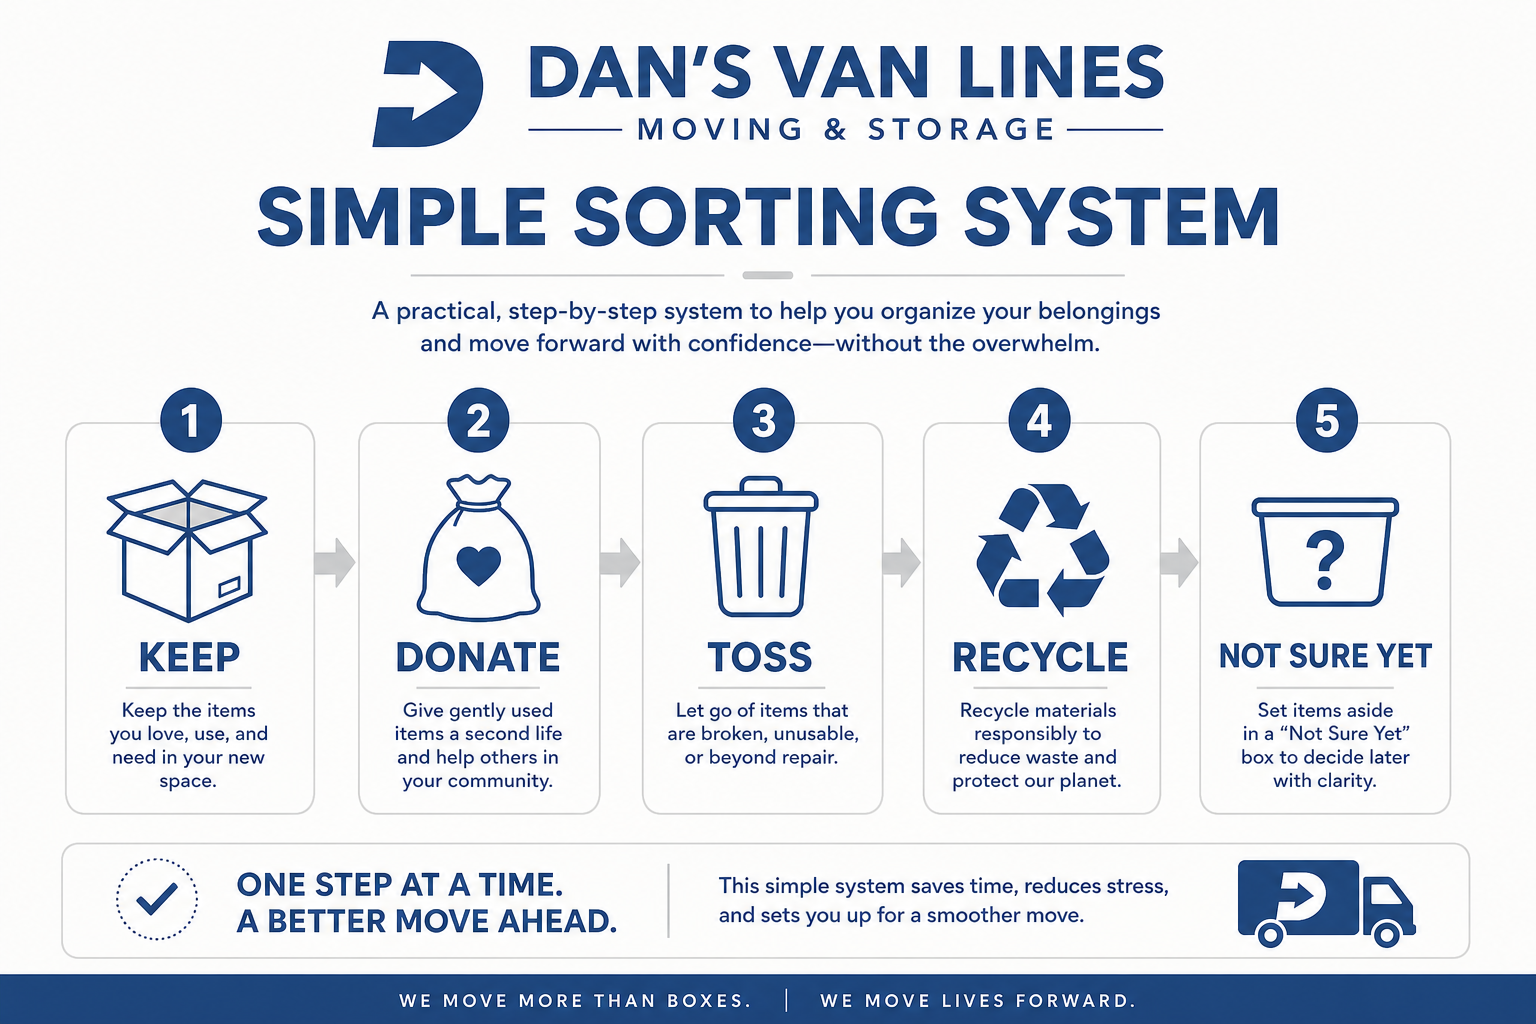
A practical sorting system is to group everything into pack, donate, toss or recycle, and replace later. This is especially useful before a long-distance move, where weight and box space matter more. It also helps you avoid unpacking items you already know you do not want in the new kitchen.
Use condition, frequency of use, and replacement value as your guide:
Pack: Daily-use cookware, good-quality knives, durable dishes, and appliances used weekly or more, such as a coffee maker, toaster, main pots, and main pans.
Donate: Duplicate gadgets, rarely used specialty appliances, surplus glassware, and serviceware in good condition.
Toss or recycle: Chipped plates, cracked mugs, warped pans, stained plastic containers, expired pantry goods, and worn items you would not want to use again.
Replace later: Bulk inexpensive staples, old spices, worn baking sheets, and degraded non-stick pans.
Pantry goods are a smart place to reduce volume. Heavy cans and bulk staples can take up space quickly, especially if they are close to expiration. Unopened, non-expired canned and dry goods may be better donated than packed, while freezer contents and easily perishable items are usually consumed or discarded before moving.
Small appliances deserve the same review. If you use an appliance less than once per month, consider whether it is worth packing. High-quality stand mixers, espresso machines, and food processors usually merit careful packing because of their replacement cost, but duplicate or unreliable appliances may not be worth the space.
Pack Dishes and Plates on Edge to Reduce Pressure and Breakage
Dishes are among the most damage-prone kitchen items because they are heavy, fragile, and easy to stack incorrectly. The core technique is to wrap each piece, cushion the box, and pack plates vertically rather than flat. Plates packed on edge distribute pressure better and are less likely to crack under weight.
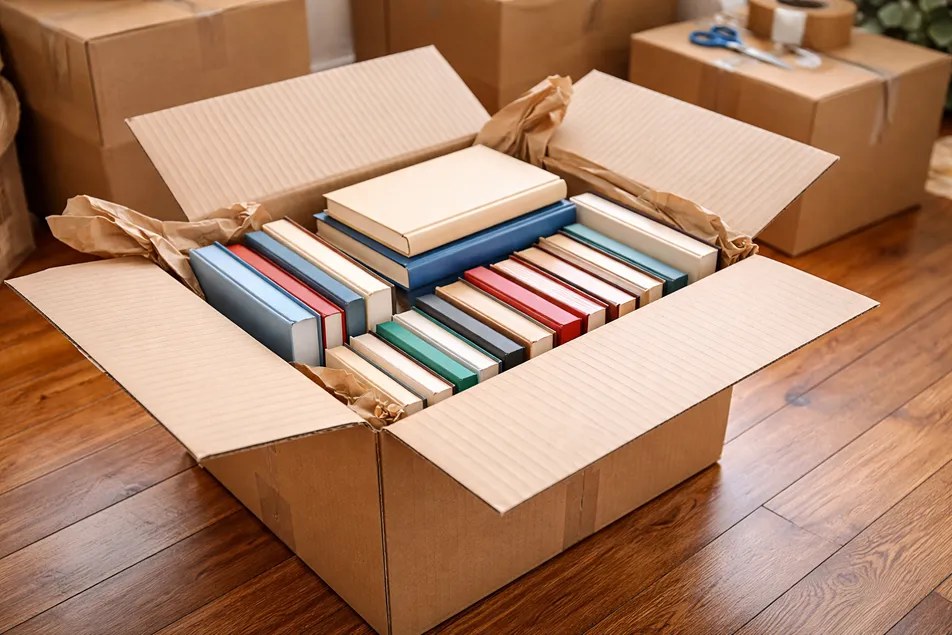
Start with a sturdy small box or dish pack. Add a padded base of crumpled packing paper before placing anything inside. Then wrap each plate individually in packing paper. Everyday dishes can be bundled in small groups of three or four after individual wrapping, as long as there is padding around the bundle.
The guide to packing kitchen items recommends using dish boxes for fragile kitchenware and adding plenty of cushioning around wrapped items. This matters because empty space inside a box allows pieces to shift, collide, and chip during handling.
Place heavier plates, serving platters, and thick stoneware toward the bottom of the box. Lighter pieces can go above them, with padding between every layer. Do not let dishes touch the box walls directly. Fill gaps with crumpled paper until the contents no longer move when you gently test the box.
How to Pack China for Moving When Pieces Are Sentimental or High Value
Fine china needs more care than everyday plates. Each piece should be wrapped first in acid-free tissue, then in bubble wrap. Tape should be applied to the wrapping, not directly to the china, so surfaces are not damaged.
Use a strong box with at least 3 inches of cushioning at the bottom and top. Every gap should be filled so the pieces cannot shift. China pieces should not touch each other or the box walls, and a gentle shake test before sealing helps confirm that nothing moves inside.
Full sets of fine china, crystal stemware, and heirloom dishware are strong candidates for professional packing because they often need dish barrels, cell dividers, and careful layering. When a kitchen includes sentimental or high-value pieces, Dan’s Van Lines can help with full-service packing or specialty moving support so fragile items are prepared with the right materials and handling plan.
Pack Glassware Upright With Interior Padding and Cell Dividers
Glassware breaks for different reasons than plates. Rims, stems, handles, and bowls are vulnerable to pressure from the side, so the goal is to protect both the inside and outside of each glass. This is especially important if you are learning how to pack glassware for moving for the first time.
For standard glasses and mugs, stuff the inside with crumpled packing paper before wrapping the outside in several layers. Pack glasses upright, rim down, rather than on their sides. This helps avoid side pressure that can crack the bowl of the glass.
For wine glasses and stemware, use glass pack boxes with cell dividers. Each stem should be wrapped and supported so pieces cannot collide. The This Old House kitchen packing guidance notes that glassware should be cushioned and separated carefully, especially when packing delicate items that can crack or chip from contact.
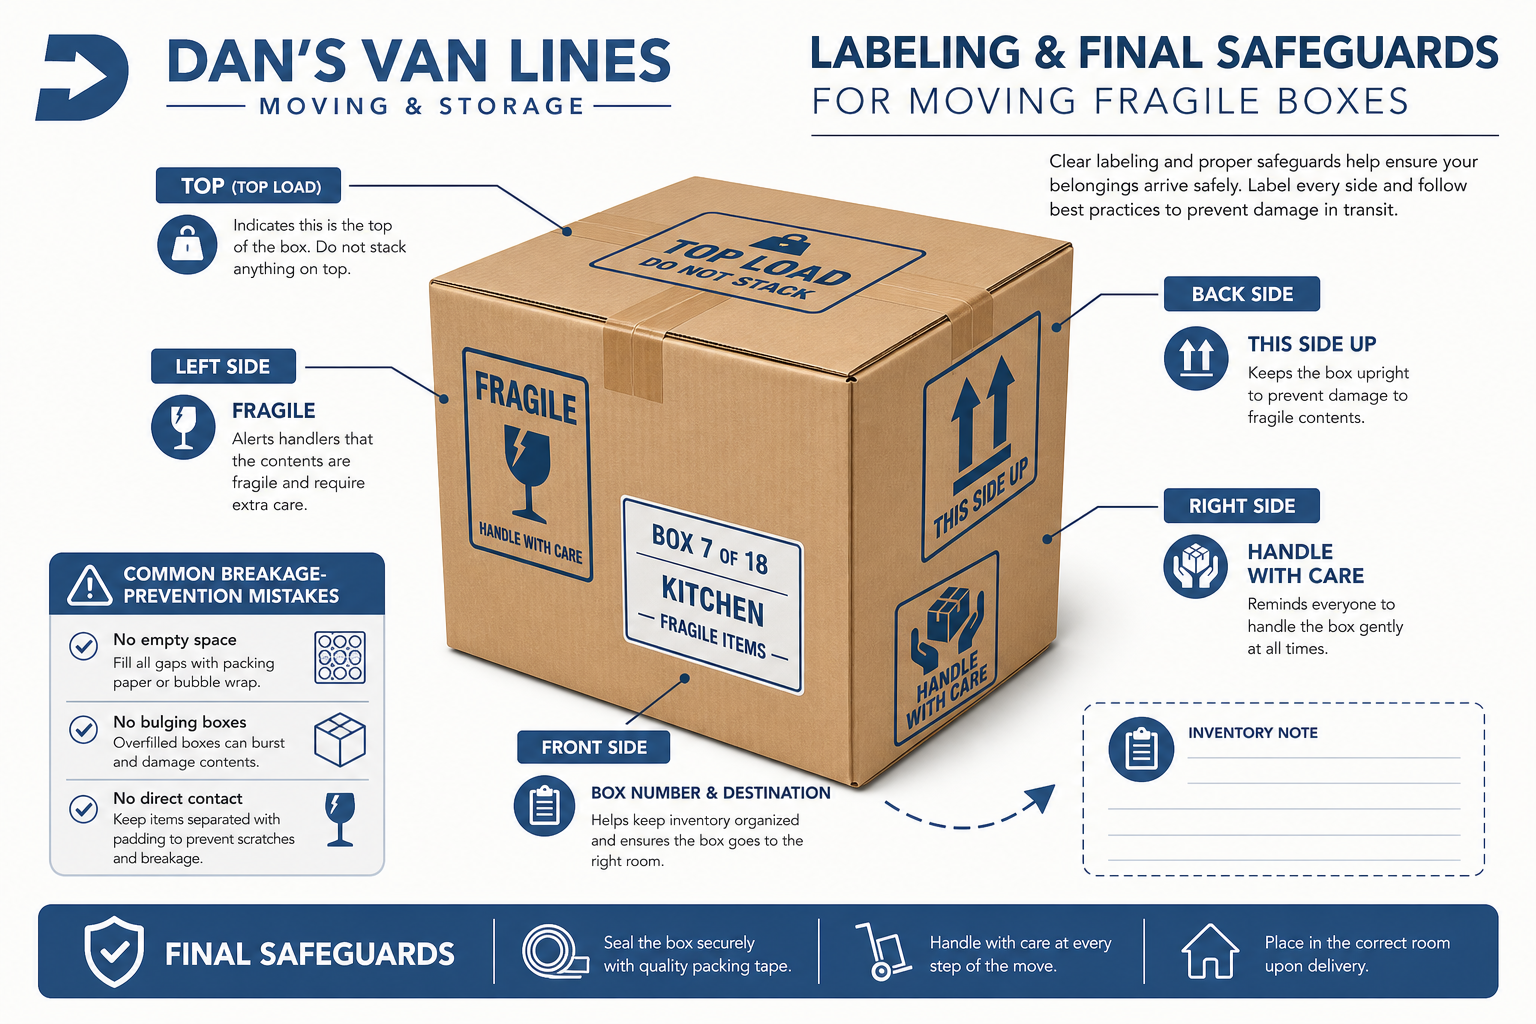
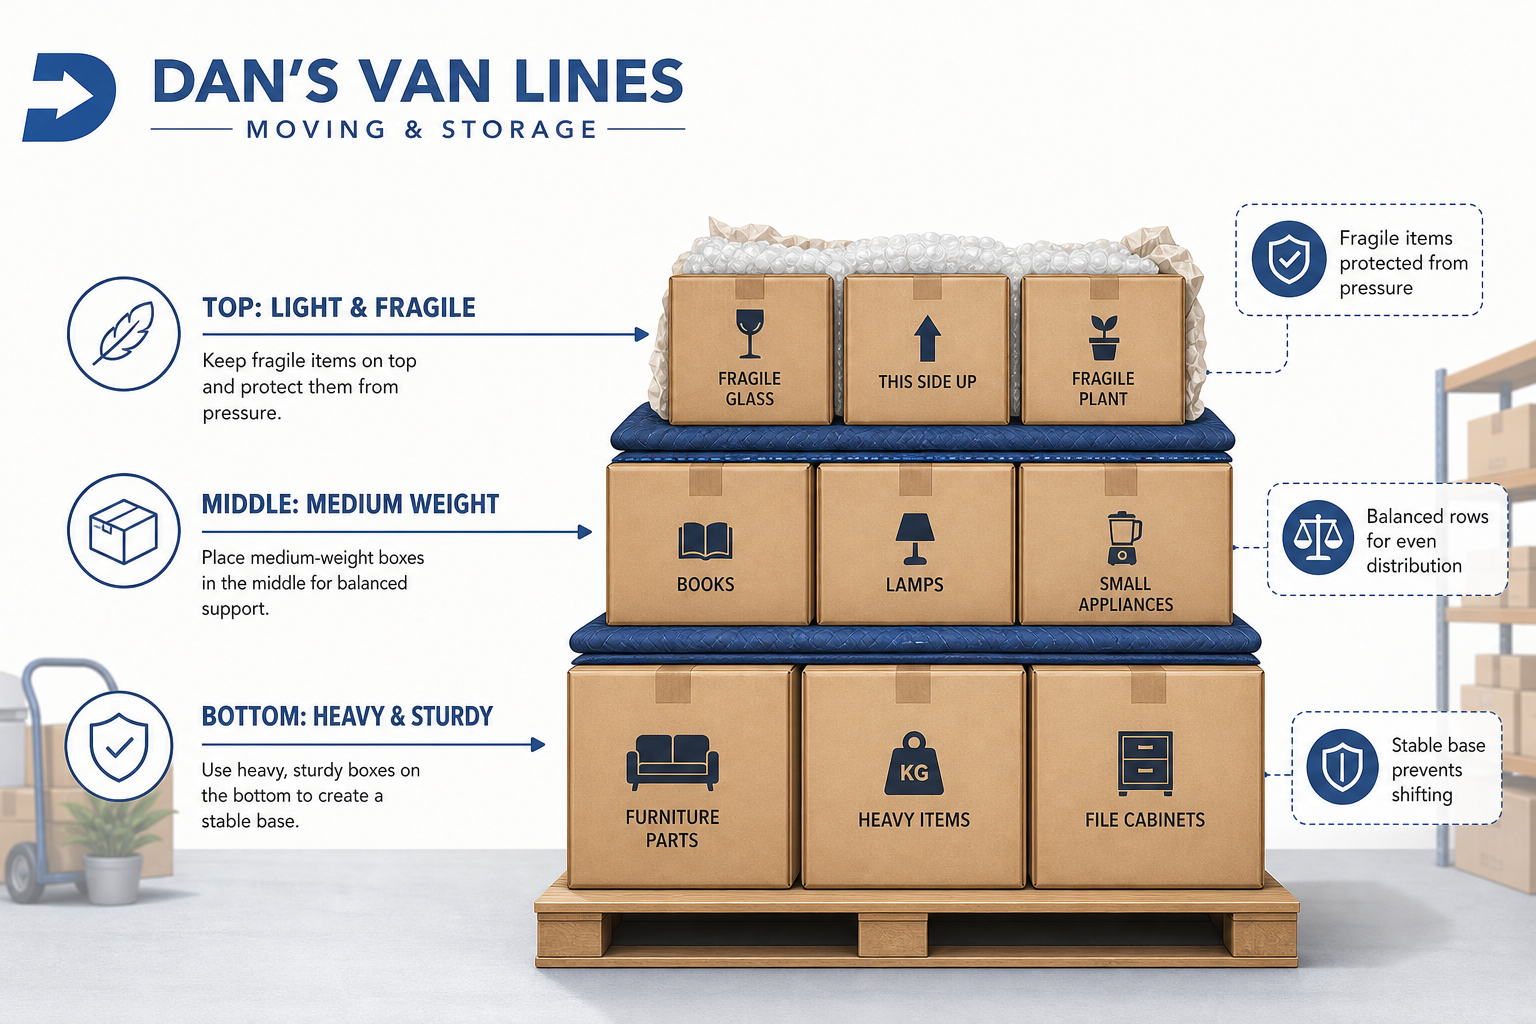
Nothing heavy should be stacked on top of glass-pack boxes. Label these boxes clearly with “FRAGILE” and “THIS SIDE UP.” If a box contains heirloom crystal or collectible glassware, mark it for top-load only so it is not buried under heavier cartons.
Pack Pantry Food by Weight, Leak Risk, and Replacement Value
Pantry packing is not just about fitting food into boxes. It also involves weight control, spill prevention, expiration checks, and deciding what is worth moving. A box of canned goods can become too heavy quickly, while one opened bottle of oil can damage multiple cartons if it leaks.
Start by sorting dry goods and checking expiration dates. Toss expired items and set aside unopened, non-expired foods you do not want to move. Open packages such as flour, sugar, and rice should either be transferred into sealed containers or used up before the move to reduce spill risk.
Canned goods and jars should go in small boxes only. Place heavier cans and glass jars on the bottom, then layer lighter dry goods such as pasta or cereal above them. Labels facing outward can make inventory easier when unpacking.
Liquids need the most caution. Opened liquid containers, including oil, vinegar, sauces, and cleaning chemicals, are often poor candidates for moving, especially long-distance. Sealed bottles can be moved if they are wrapped individually, packed upright, and cushioned so they cannot tip or collide.
A plastic bin or lined box can help contain leaks. Use a trash bag or waterproof liner inside the box when packing sealed liquid items. Carbonated drinks, glass beverage bottles, and large jugs are better handled separately in a personal vehicle when possible.
Spices and Small Jars Should Be Grouped So They Do Not Get Lost
Spice jars are small, but they can chip, spill, or disappear into the wrong box. Group them in zip-top bags or plastic caddies before placing them inside a small box. Add padding around the group so jars do not rattle against each other.
Loose or bulk spices in bags should be double-bagged and placed in a waterproof container if you decide to move them. Older or nearly empty spices are good candidates for tossing because many are inexpensive and lose potency over time. Clearly label the spice box so you can find basic seasonings quickly after arrival.
Prepare Small Appliances by Cleaning, Drying, and Removing Loose Parts
Small appliances combine breakable parts, sharp components, electronics, cords, and sometimes glass bowls or panels. That makes preparation especially important. Every appliance should be cleaned and dried before packing to reduce odors, mold, or internal corrosion.
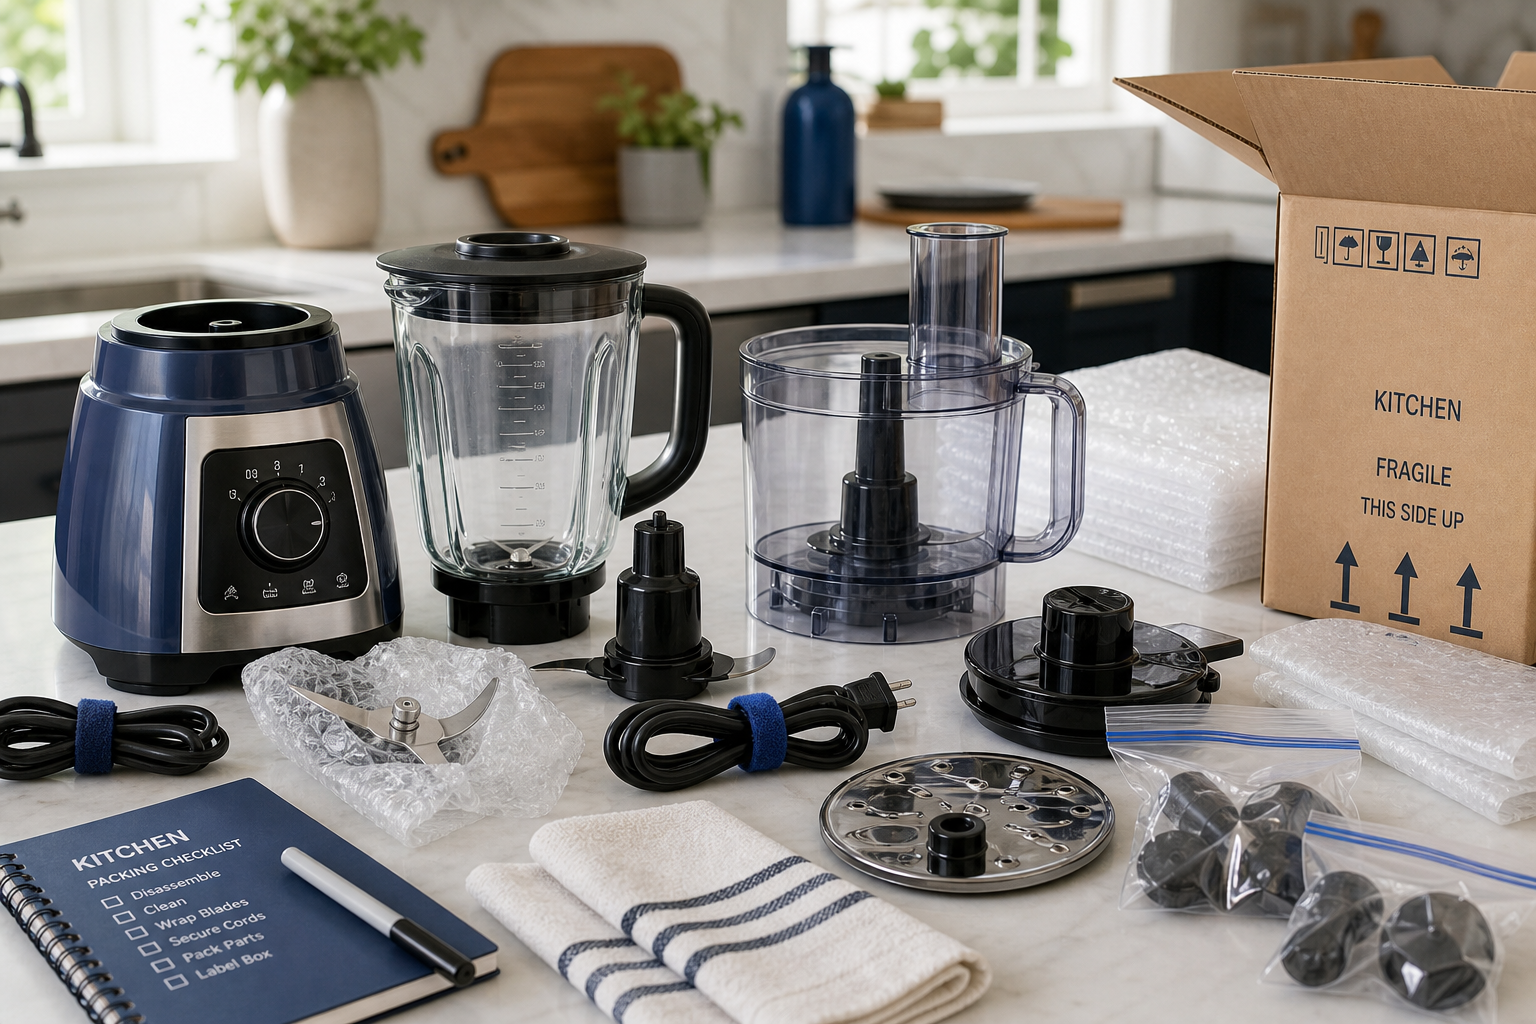
Remove detachable parts before wrapping the main appliance. Blender jars, blades, food processor disks, mixer attachments, microwave turntables, glass carafes, and work bowls should be wrapped separately. Sharp blades should be wrapped in cardboard or thick paper sleeves to reduce injury risk during unpacking.
Whenever possible, use the original manufacturer box. It is usually sized for the appliance and may include inserts that hold it in place. If the original box is unavailable, use a medium carton with layered padding and enough cushioning on all sides to prevent shifting.
The kitchen packing tips for appliances emphasize cleaning, wrapping, and separating fragile appliance parts before boxing. This simple preparation helps prevent broken turntables, cracked carafes, tangled cords, and loose components.
Wrap the appliance in packing paper, then add bubble wrap for shock absorption if it has glass panels, delicate surfaces, or high-value finishes. Coil cords and secure them with twist-ties or tape so they do not strain the plug or tangle with other items.
Large Kitchen Appliances Need Advance Preparation Before Moving Day
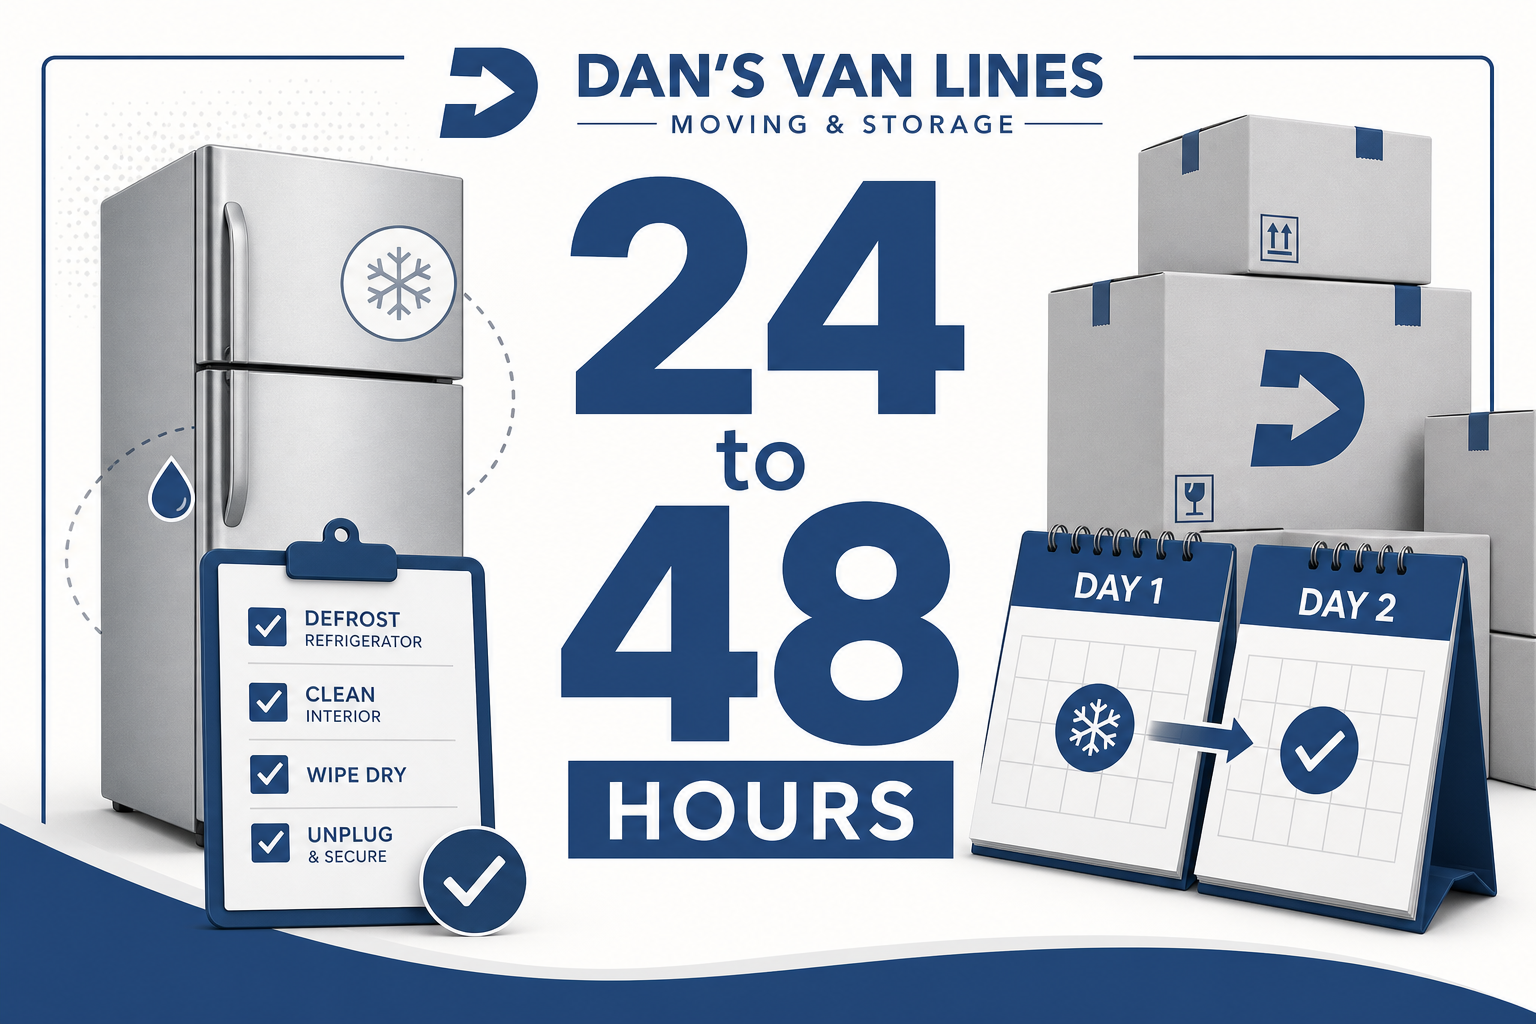
Refrigerators, dishwashers, and stoves require more planning than countertop appliances. Refrigerators should be emptied and defrosted 24 to 48 hours before moving if they are being transported. Shelves and drawers should be removed, wrapped, and packed separately.
Dishwashers require water line disconnection, hoses drained into a bucket, and doors secured with tape or stretch wrap. Stoves must be disconnected safely, and gas stoves require the gas supply to be turned off and lines uncoupled. If you do not have the tools or confidence to disconnect gas lines, water lines, or built-in venting, a technician is often the safer choice.
Doors and drawers on large appliances should be secured so they do not open during handling. Touchscreen panels, knobs, glass doors, and stainless-steel finishes benefit from extra protection. Toaster ovens and microwaves with glass doors should not have heavy items stacked on top during transit.
Use a Kitchen Packing Timeline That Prevents Last-Minute Rushing
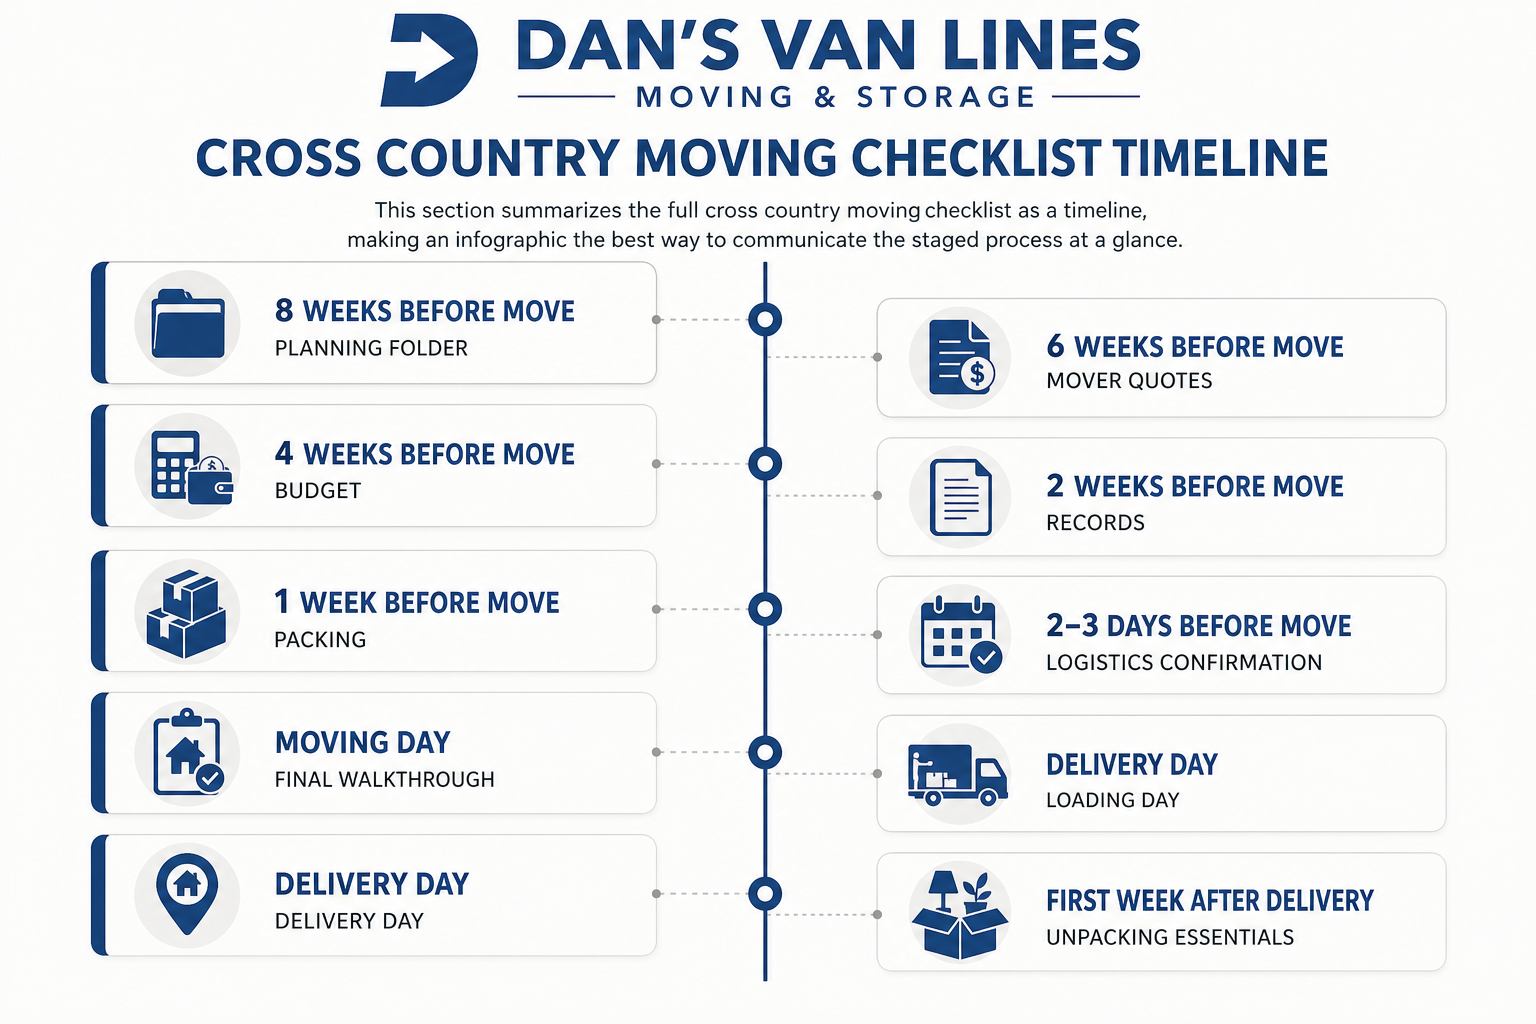
A kitchen can take many hours to pack, depending on its size and inventory. The common mistake is waiting until the night before the move, which leads to overloaded boxes, poor labeling, and rushed wrapping. A phased timeline makes the process easier to manage.
Begin several weeks before moving day with items you rarely use. Seasonal bakeware, fine china, extra glassware, decorative kitchen items, and specialty gadgets in high cabinets can be packed first. As moving day gets closer, reduce the kitchen to only daily essentials.
A practical timeline can look like this:
3 to 4 weeks before moving: Start with pantry sorting, seasonal bakeware, fine china, extra glassware, and rarely used gadgets.
2 to 3 weeks before moving: Pack rarely used serving dishes, duplicate cookware, sealed pantry items worth moving, and appliances used less than weekly.
1 to 2 weeks before moving: Pack most dishes, bowls, glasses, and cookware, keeping only one set per person and one or two pots or pans for daily meals.
Final 2 to 3 days: Pack remaining cookware and pantry goods, assemble a kitchen essentials box, and begin preparing appliances.
Final 24 to 48 hours: Defrost the freezer if moving the refrigerator, unplug and dry appliances, run the dishwasher empty, and secure appliance doors.
Moving day morning: Pack remaining essentials, including the coffee maker, breakfast dishes, and last cleaning supplies, into clearly labeled open-first boxes.
Perishable food should be eaten down before moving day. Moving guides recommend reducing refrigerator and freezer contents 1 to 2 weeks ahead and avoiding major grocery runs. A refrigerator being moved should be emptied and defrosted at least 24 hours before the move, and remaining perishable food should not go on the truck.
The fine china packing guidance stresses the importance of cushioning, immobilization, and preventing pieces from touching. Those same principles apply across the kitchen, especially when packing fragile items over several sessions instead of rushing at the end.
Label Kitchen Boxes So Movers Know What Is Fragile, Heavy, or Open First
Labels are more than an unpacking convenience. They help reduce unnecessary handling and tell movers how a box should be carried or stacked. A well-labeled kitchen box is easier to place in the correct room and less likely to end up under heavy cartons.
Use permanent markers and clear labels such as “FRAGILE,” “THIS SIDE UP,” “GLASSWARE,” “DISHES,” “PANTRY,” or “OPEN FIRST.” Room-coded or color-coded labels can speed unloading and reduce extra handling. For heirloom pieces or collectible dishware, add “TOP LOAD ONLY” so the box stays above heavier items.
The kitchen essentials box should be easy to identify. It can hold the items needed for the first meals after arrival, such as a minimal dish set, basic utensils, the coffee maker if used on moving day, and any remaining essentials packed that morning. Keep it clearly marked so it does not disappear into a stack of similar cartons.
A Careful Kitchen Pack Protects the Items You Use Every Day
The best way to pack a kitchen for moving is to treat each category differently. Plates should be wrapped and packed on edge. Glassware should be padded inside and outside, then packed upright with dividers when needed. Pantry goods should be sorted by weight, leak risk, and replacement value. Appliances should be cleaned, dried, disassembled, and protected from shifting.
Starting early gives you time to decide what to pack, donate, toss, or replace. It also gives fragile items the attention they need. A few extra minutes spent cushioning a dish pack or securing appliance parts can prevent frustrating damage when you reach your new home.
If you would like professional help packing your kitchen, moving fragile dishware, or preparing for a local or long-distance move from Northern Virginia, Dan’s Van Lines is ready to help. Get a Quote by calling (703) 553-0900 or visiting https://www.dansvanlines.com/contact-us.












.webp)
%20(1).webp)
.webp)
.webp)
.webp)
.webp)
.webp)

.avif)
%201.svg)

%201.svg)
%201.svg)